




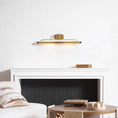
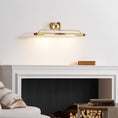
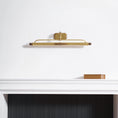
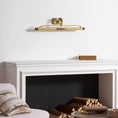


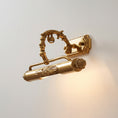
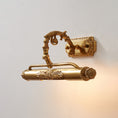
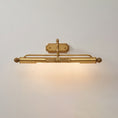
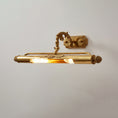
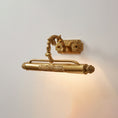
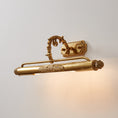
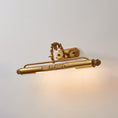
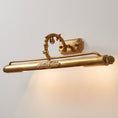
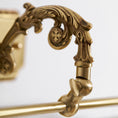
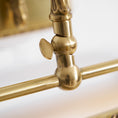
Antikmessing · Bilderrahmen · Galeriewandleuchte
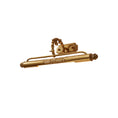
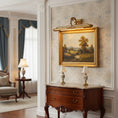
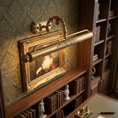
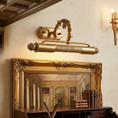
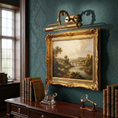
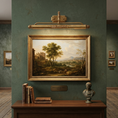
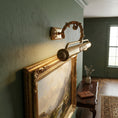
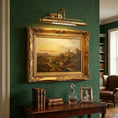
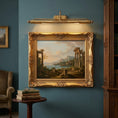
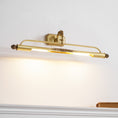
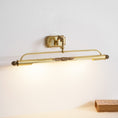
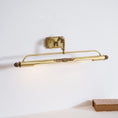
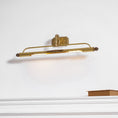
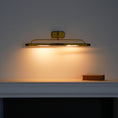
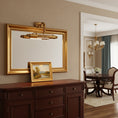
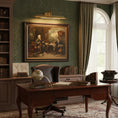
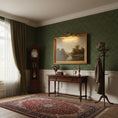
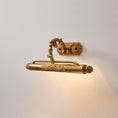
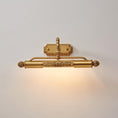
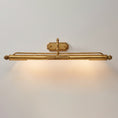
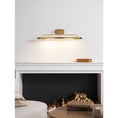
Ein schlanker Antikmessing-Rahmen, der Ihr gewähltes Foto, Kunstdruck oder Kunstwerk hält – und es beleuchtet. Die integrierte Leuchte umhüllt das Objekt in ein warmes, galerie-ähnliches Licht und lässt jedes Bild kuratiert wirken. Tauschen Sie das Kunstwerk so oft aus, wie Sie möchten; der Rahmen bleibt, die Ausstellung verändert sich.
Sehen Sie es in Aktion
Produktübersicht
Länge – Beim Checkout wählen
Drei Längen teilen sich die gleiche Höhe von 15,5 cm und eine Wandtiefe von 15,5 cm – wählen Sie die Länge, die am besten zu Ihrem Kunstwerk und Ihrem Wandplatz passt.
Klein
L 45 cm
L 17.7″
H 15,5 cm · Tiefe 15,5 cm
Mittel
L 58 cm
L 22.8″
H 15,5 cm · Tiefe 15,5 cm
Groß
L 76 cm
L 29.9″
H 15,5 cm · Tiefe 15,5 cm
Materialien & Verarbeitung
Antikmessing
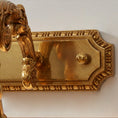
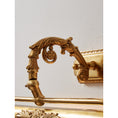
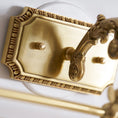
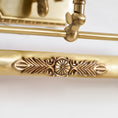
Massiver Messingkörper mit einer warmhändisch patinierten Antikmessing-Oberfläche.
Bilderrahmen
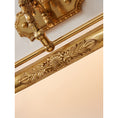
Hält ein Foto, einen Kunstdruck oder ein Kunstwerk – tauschen Sie Arbeiten aus, um Ihren Raum zu erneuern.
Galerie-Leuchtglow
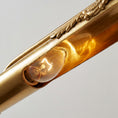
Direktionales integriertes Licht umhüllt das Kunstwerk – ruhig kuratierte Beleuchtung.
Produktinformationen
| Leuchtenabmessungen | Klein: L 45 × H 15,5 cm / L 17,7″ × H 6,1″ Mittel: L 58 × H 15,5 cm / L 22,8″ × H 6,1″ Groß: L 76 × H 15,5 cm / L 29,9″ × H 6,1″ |
| Wandprojektion | 15,5 cm / 6,1″ — einheitlich für alle Größen |
| Anschlussdosengröße | L 16 × H 7 cm / L 6,3″ × H 2,8″ |
| Gehäusematerial | Massives Messing |
| Oberfläche | Antikmessing |
| Fassung | E12 oder E14 Kerzenkerzen |
| Leuchtmittel enthalten | Nein – wird separat verkauft |
| Montagetyp | Wandmontage · Festverdrahtet · Horizontale Ausrichtung |
| SKU | RDW-212218 |
Vor der Installation
Die Pania wird an einer eingebauten Wandanschlussdose der Größe L 16 × H 7 cm / L 6,3″ × H 2,8″ montiert. Dies ist etwas größer als eine Standard-Einfach-Anschlussdose.
Wenn Ihre vorhandene Anschlussdose eine andere Größe hat, kann Ihr Elektriker einen Anschlussdosen-Adapter oder eine neue eingebaute Dose vor der Montage installieren. Bitte bestätigen Sie dies mit Ihrem Installateur vor der Bestellung.
Installation
- Festverdrahtete Wandmontage — die Installation durch einen Fachmann wird empfohlen.
- Erfordert eine eingebaute Anschlussdose der Größe L 16 × H 7 cm / L 6,3″ × H 2,8″. Die gesamte Montagehardware ist enthalten.
- Für horizontale Wandmontage konzipiert – der Rahmen ist im Querformat ausgerichtet, wobei das integrierte Licht entlang der oberen Kante verläuft.
- Das Bild wird von hinten durch ein abnehmbares Rückenpanel eingeführt – vollständige Details finden Sie in der Installationsanleitung.
- Geeignet für trockene und feuchte Innenräume. Nicht für Nassbereiche oder den Außenbereich geeignet.
Häufig gestellte Fragen
Wie füge ich das Bild ein oder wechsle es? +
Der Rahmen hat ein abnehmbares Rückenpanel, mit dem Sie Kunstwerke von hinten heraus- und hineinschieben können. Der Vorgang ist derselbe, egal ob Sie die Leuchte zum ersten Mal anbringen oder später Drucke austauschen. Die Installationsanleitung enthält die genauen Schritte.
Welche Bildgröße passt zu jeder Länge? +
Die innere Rahmenöffnung ist etwas kleiner als die Außenlänge. Grob gesagt sollte Ihr Kunstwerk etwa 3–5 cm kürzer als die Außenlänge und etwa 10 cm hoch sein. Für genaue Abmessungen lesen Sie vor der Bestellung das Spec Sheet, oder schneiden Sie Ihren Druck entsprechend zu.
Was ist, wenn meine Wandanschlussdose eine andere Größe hat? +
Die Pania erfordert eine eingebaute Anschlussdose von L 16 × H 7 cm / L 6,3″ × H 2,8″. Wenn Ihre vorhandene Dose kleiner oder eine andere Form hat, kann Ihr Elektriker eine größere eingebaute Dose oder einen Anschlussdosen-Adapter installieren. Bitte bestätigen Sie diesen Schritt mit Ihrem Installateur vor der Bestellung.
Welche Leuchtmittel empfehlen Sie? +
E12- oder E14-Kerzenleuchten-LED-Leuchtmittel in Warmweiß (2700K), jeweils 3–4W (≈40W Glühbirnenäquivalent). Längere Größen verwenden mehr Leuchtmittel – die genaue Leuchtmittelanzahl pro Variante ist im Spec Sheet aufgelistet.
Ist diese Leuchte dimmbar? +
Die Leuchte selbst ist dimmbarkompatibel. Kombinieren Sie dimmbare E12/E14-LED-Leuchtmittel mit einem TRIAC-kompatiblen Dimmer-Schalter (z.B. Lutron, Leviton Decora). Standard-Nicht-Dimmbar-Leuchtmittel laufen nur bei voller Helligkeit.
Wie pflege ich die Antikmessing-Oberfläche? +
Mit einem weichen trockenen Tuch abstauben. Bei Fingerabdrücken ist ein leicht feuchtes Mikrofasertuch gefolgt von gründlichem Trocknen in Ordnung. Vermeiden Sie Schleifmittel, aggressive Chemikalien und Messingpolituren – die antike Patina ist gewünscht, und das Polieren würde sie entfernen.
Downloads

- Unique shape design
- Made responsibly
- High quality material
- Tested for durability
CARE
CARE
- Dust with a soft, dry cloth.
- To protect finish, we do not recommend the use of household cleaners or abrasives.
- Do not exceed specified wattage.
SHIPPING & RETURN POLICY
SHIPPING & RETURN POLICY
Enjoy free shipping on all products. With Front Door Delivery, your item ships from our Distribution Center via UPS within 2–3 business days and arrives at your home in 4–6 weeks. Eligible items may be returned within 30 days of receipt. Made-to-order items are not eligible for return.
10%
OFF
Use this code at checkout to enjoy a 10% discount on your entire purchase.


Fast Shipping
4-6 weeks for delivery

North American Certification
North American Certification Overview

Safety Payment
Secure payment with Multiple Credit Cards.


Measuring for Pendant Lighting
When installing pendants and chandeliers, it’s important to consider how you want your fixtures to hang in relation to the other furnishings in your space. Read on for our recommendations on how to hang the perfect light.
Kitchen
Aim for 30–36″ from the bottom of your fixture’s shade to the top of your island or countertop. Space multiple pendants 26–30″ apart. For a sense of proportion and balance, allow 12″ from the outermost fixture to the edge of your counter.
Dining Room
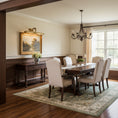
For optimal lighting and visibility, the bottom of your pendant should sit 30″ from the surface of your dining table. To scale your fixture, take the length and width of the room in feet, then convert that to inches. For a 10′ by 14′ room, the chandelier should be about 24″ wide.
Bedroom
If you’re hanging a pendant above a nightstand, allow for at least 30″ between the bottom of the shade and your nightstand’s surface. To keep the look balanced, center your pendant over your nightstand.

One fixture. Every room. Infinite arrangements.
Mount it horizontally above a mirror, vertically in a corridor, or flanking a headboard — the linear sconce reshapes the spatial grammar of any wall it inhabits.
Lineam Lucis — A line of light on every wall.

What Makes a Sconce Linear?
Stripped to its essence: a long, slender bar of light, mounted flush to the wall.
Unlike a conventional sconce with a shade or arm, the linear wall lamp presents its light source as a horizontal or vertical stroke — an architectural element as much as a lighting fixture. The profile is minimal, the shadow it casts intentional. It draws the eye along the wall rather than up or across the room, creating a sense of calm, ordered space.
Three Ways to Mount
The same fixture reads entirely differently depending on axis and placement. Here are the three arrangements our designers recommend — each suited to a different room and purpose.
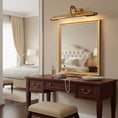
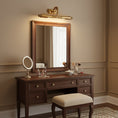
The classic application. Mounted horizontally above a bathroom vanity, bedroom headboard, or over a console table, the horizontal sconce creates a strong, grounding line that widens the perceived space. Ideal for spans of 18–48 inches; pair two symmetrically for a balanced composition.
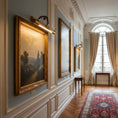
Rotated 90 degrees, the same fixture becomes a hall sconce that draws the eye upward and lends height to a corridor or stairwell landing. Mounted at eye level in pairs flanking a doorway, it creates a ceremonial, gallery-like threshold. The vertical mount is particularly striking in minimal interiors with high ceilings.
Select models feature a pivoting arm that rotates the light bar toward a specific surface — typically artwork or a bookshelf. This is the preferred setup for gallery picture lighting, where precise beam direction matters more than ambient spread. Check individual product listings to confirm pivot availability before purchasing.
Seven Sconces, One Discipline
Each model interprets the linear form through a different finish and function — from the gallery-ready picture light to the understated vanity bar.


Your Art Deserves Its Own Light
The picture light is among the oldest uses of the linear sconce — and the most demanding.
Illuminating artwork requires control: the beam must be warm enough not to bleach colour, narrow enough not to flood adjacent walls, and angled so it falls evenly across the canvas from top to bottom. Our pivoting picture lights are engineered for this task — a low-profile backplate that mounts flush to the wall, a slim bar that extends forward at the right depth, and LED lamps pre-tuned to 2700K warmth that enhances oil paint and photography alike.
Five Rooms, One Fixture
The linear sconce's versatility is its greatest virtue — below, the five spaces where our customers find it indispensable.
Bathroom Vanity
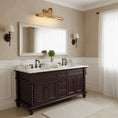
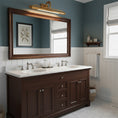
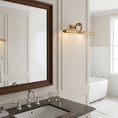
Mounted horizontally above or on both sides of a mirror, the linear sconce provides shadow-free task lighting for grooming — the professional lighting designer's preferred alternative to overhead downlights.
Bedroom Headboard
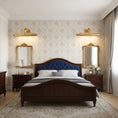
A horizontal bar centred above the headboard replaces two bedside lamps, freeing the nightstands and creating a cleaner architectural line. Ideal for platform beds and built-in millwork headboards.
Hallway & Corridor
Vertical pairs flanking a doorway or spaced along a long corridor create a sense of arrival and procession — a lighting technique borrowed directly from museum gallery design.
Living Room Gallery Wall
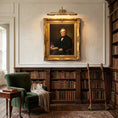
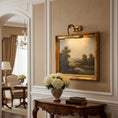
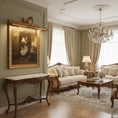
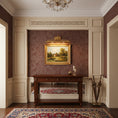
Above a console, sofa, or fireplace mantel — the linear picture light throws warm, focused illumination onto your curated art collection, turning the everyday into exhibition.
Home Library
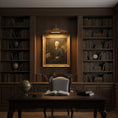
A slimline sconce between bookshelves illuminates spines and reading corners without the visual weight of a pendant or floor lamp — keeping the space intimate and the books the focus.
Four Steps to Perfect Light
All mounting hardware and a step-by-step guide are included in every box. A licensed electrician is recommended for the wiring step.
Use the included template to mark the wall-box position. Confirm the centre height — typically 65–72 inches from the floor for a vanity, or 6–8 inches above the artwork for a picture light. Cut or locate the existing wall box.
Connect the ground, neutral, and live wires to the junction box. For dimmable operation, ensure the circuit is wired through a TRIAC-compatible dimmer (Lutron Skylark or equivalent). Electrician's work — do not skip.
Feed the wires through the backplate opening and fasten the mounting bracket to the wall box using the included screws. Press the backplate flush and secure with the decorative bolts. Check level with a spirit level before fully tightening.
Clip or screw the light bar onto the backplate. For pivoting models, rotate the arm to your desired angle — typically 30–45° down for picture lighting, or parallel to the wall for ambient/vanity. Insert your preferred E26 LED bulb and restore power.
