


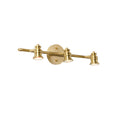
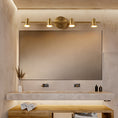


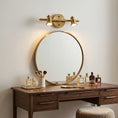
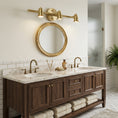
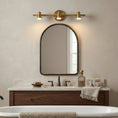
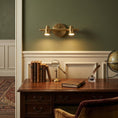
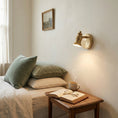
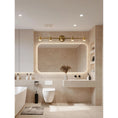
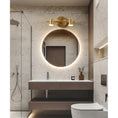
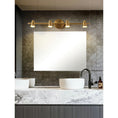
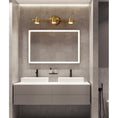


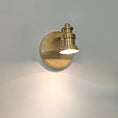


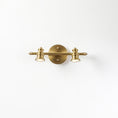
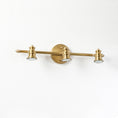
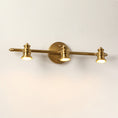
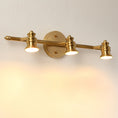
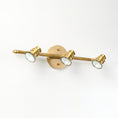
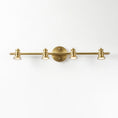
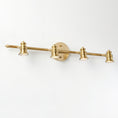
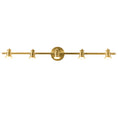
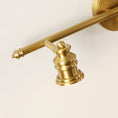
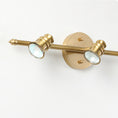
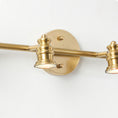


Latão · Barra de Focos Lineares · MR16 LED
Uma luminária de parede com focos lineares construída a partir de uma barra de montagem em latão fino com cabeças de foco direccionais espaçadas ao longo do seu comprimento. Cada cabeça é uma pequena cápsula de latão torneado com um LED MR16 atrás de uma lente enrrasada — luz focada, perfil reduzido, sem lâmpada visível de lado. Um cruzamento limpo entre industrial e tradicional, adequado para iluminação de quadros, barras de penteadeira e acentos em prateleiras.
Disponível em cinco configurações, desde um foco de cabeça única até uma barra de cinco cabeças com quase um metro de comprimento. Cada cabeça adicional estende a barra aproximadamente 19 cm, permitindo-lhe dimensionar a luminária exatamente conforme o espaço que necessita iluminar.
Características
Barra de Focos Lineares
Barra em latão fino com cabeças de foco direccionais espaçadas uniformemente — modular e de perfil reduzido.
Cabeças de Foco MR16
Cada cabeça aceita um LED MR16 padrão — feixe focado, substituição de lâmpada fácil.
Cinco Configurações
De uma cabeça a barra de cinco cabeças — dimensione-a conforme o comprimento da parede e a necessidade de iluminação.
Acabamento
Latão
Latão polido quente em toda a luminária — barra, cabeças de foco e placa de montagem. Combina com paredes em tons creme, madeira escura, mármore, couro e interiores tradicionais ou transitórios. Acabamento manual com variação tonal subtil em cada peça.
Configurações — Escolha no Checkout
Especificações
| SKU | RDW-8083 |
| Configurações | 1, 2, 3, 4 ou 5 cabeças de foco numa barra linear |
| Materiais | Corpo em latão maciço e cabeças orientáveis |
| Fonte de Luz | Soquete MR16 (um por cabeça) · Lâmpadas não incluídas · Substituíveis pelo utilizador |
| Lâmpada Recomendada | LED MR16 · Máx. 5W por cabeça · Branco quente 3000K recomendado |
| Temperatura de Cor | Determinado pelas lâmpadas escolhidas · Branco quente 3000K recomendado |
| Regulação | Compatível se forem instaladas lâmpadas MR16 dimáveis e um dimmer TRIAC |
| Tensão | CA 110–240V · Universal |
| Montagem | Montagem em parede com fiação embutida · Caixa de junção standard · Orientação horizontal |
| Ideal Para | Iluminação de quadros · Espelhos de casa de banho · Bancadas de cozinha · Acentos em prateleiras · Corredores |
| Classificação IP | IP20 · Apenas para locais interiores secos |
Transferências
FAQ
Qual o tamanho mais adequado à minha aplicação? +
O modelo de 1 cabeça funciona como luz de quadro única ou pequeno destaque. O de 2 cabeças é ideal para espelhos de casa de banho standard e prateleiras. O de 3 cabeças é o tamanho típico de barra de espelho — 21" de largura, adequado a lavatórios standard. As versões de 4 cabeças e 5 cabeças acomodam espelhos maiores (bancadas com 60"+ de comprimento), bancadas de cozinha ou instalações de iluminação de quadro em parede completa.
O que é uma lâmpada MR16? +
MR16 é um formato standard de lâmpada de destaque compacta com base de dois pinos — comum em luzes de quadro, iluminação de trilho e acessórios de destaque. Os LEDs MR16 modernos estão amplamente disponíveis, com baixo consumo (tipicamente 3–5W) e produzem um feixe concentrado. Recomendamos um LED MR16 branco quente (3000K) com até 5W por cabeça. As lâmpadas não estão incluídas.
É regulável em intensidade? +
O acessório em si não possui função dimável, mas torna-se dimável quando emparelhado com lâmpadas LED MR16 dimáveis e um dimmer de parede TRIAC standard. Nota: nem todos os LEDs MR16 são dimáveis, portanto verifique as especificações da lâmpada ao encomendar.
Posso instalar num casa de banho? +
Sim — para um espelho de casa de banho acima de um espelho, a classificação IP20 é suficiente quando instalada longe do contacto direto com água. Evite instalação em zonas de duche ou diretamente acima de banheiras. Para instalações em zonas húmidas, consulte um eletricista licenciado sobre os requisitos do código local.

- Design de forma única
- Fabricado com responsabilidade
- Material de alta qualidade
- Testado quanto à durabilidade
MANUTENÇÃO
MANUTENÇÃO
- Limpe com um pano macio e seco.
- Para proteger o acabamento, não recomendamos o uso de limpadores domésticos ou abrasivos.
- Não exceda a potência especificada.
POLÍTICA DE ENVIO E DEVOLUÇÃO
POLÍTICA DE ENVIO E DEVOLUÇÃO
Aproveite o envio gratuito em todos os produtos. Com Entrega à Porta, o seu artigo é enviado do nosso Centro de Distribuição via UPS dentro de 2-3 dias úteis e chega à sua casa em 4-6 semanas. Os artigos elegíveis podem ser devolvidos no prazo de 30 dias após receção. Os artigos personalizados não são elegíveis para devolução.
10%
OFF
Use this code at checkout to enjoy a 10% discount on your entire purchase.


Envio Rápido
4-6 semanas para entrega

Certificação da América do Norte
Descrição Geral da Certificação da América do Norte

Pagamento Seguro
Pagamento seguro com múltiplos cartões de crédito.


Measuring for Pendant Lighting
When installing pendants and chandeliers, it’s important to consider how you want your fixtures to hang in relation to the other furnishings in your space. Read on for our recommendations on how to hang the perfect light.
Kitchen
Aim for 30–36″ from the bottom of your fixture’s shade to the top of your island or countertop. Space multiple pendants 26–30″ apart. For a sense of proportion and balance, allow 12″ from the outermost fixture to the edge of your counter.
Dining Room
For optimal lighting and visibility, the bottom of your pendant should sit 30″ from the surface of your dining table. To scale your fixture, take the length and width of the room in feet, then convert that to inches. For a 10′ by 14′ room, the chandelier should be about 24″ wide.
Bedroom
If you’re hanging a pendant above a nightstand, allow for at least 30″ between the bottom of the shade and your nightstand’s surface. To keep the look balanced, center your pendant over your nightstand.

One fixture. Every room. Infinite arrangements.
Mount it horizontally above a mirror, vertically in a corridor, or flanking a headboard — the linear sconce reshapes the spatial grammar of any wall it inhabits.
Lineam Lucis — A line of light on every wall.

What Makes a Sconce Linear?
Stripped to its essence: a long, slender bar of light, mounted flush to the wall.
Unlike a conventional sconce with a shade or arm, the linear wall lamp presents its light source as a horizontal or vertical stroke — an architectural element as much as a lighting fixture. The profile is minimal, the shadow it casts intentional. It draws the eye along the wall rather than up or across the room, creating a sense of calm, ordered space.
Three Ways to Mount
The same fixture reads entirely differently depending on axis and placement. Here are the three arrangements our designers recommend — each suited to a different room and purpose.
The classic application. Mounted horizontally above a bathroom vanity, bedroom headboard, or over a console table, the horizontal sconce creates a strong, grounding line that widens the perceived space. Ideal for spans of 18–48 inches; pair two symmetrically for a balanced composition.
Rotated 90 degrees, the same fixture becomes a hall sconce that draws the eye upward and lends height to a corridor or stairwell landing. Mounted at eye level in pairs flanking a doorway, it creates a ceremonial, gallery-like threshold. The vertical mount is particularly striking in minimal interiors with high ceilings.
Select models feature a pivoting arm that rotates the light bar toward a specific surface — typically artwork or a bookshelf. This is the preferred setup for gallery picture lighting, where precise beam direction matters more than ambient spread. Check individual product listings to confirm pivot availability before purchasing.
Seven Sconces, One Discipline
Each model interprets the linear form through a different finish and function — from the gallery-ready picture light to the understated vanity bar.


Your Art Deserves Its Own Light
The picture light is among the oldest uses of the linear sconce — and the most demanding.
Illuminating artwork requires control: the beam must be warm enough not to bleach colour, narrow enough not to flood adjacent walls, and angled so it falls evenly across the canvas from top to bottom. Our pivoting picture lights are engineered for this task — a low-profile backplate that mounts flush to the wall, a slim bar that extends forward at the right depth, and LED lamps pre-tuned to 2700K warmth that enhances oil paint and photography alike.
Five Rooms, One Fixture
The linear sconce's versatility is its greatest virtue — below, the five spaces where our customers find it indispensable.
Bathroom Vanity
Mounted horizontally above or on both sides of a mirror, the linear sconce provides shadow-free task lighting for grooming — the professional lighting designer's preferred alternative to overhead downlights.
Bedroom Headboard
A horizontal bar centred above the headboard replaces two bedside lamps, freeing the nightstands and creating a cleaner architectural line. Ideal for platform beds and built-in millwork headboards.
Hallway & Corridor
Vertical pairs flanking a doorway or spaced along a long corridor create a sense of arrival and procession — a lighting technique borrowed directly from museum gallery design.
Living Room Gallery Wall
Above a console, sofa, or fireplace mantel — the linear picture light throws warm, focused illumination onto your curated art collection, turning the everyday into exhibition.
Home Library
A slimline sconce between bookshelves illuminates spines and reading corners without the visual weight of a pendant or floor lamp — keeping the space intimate and the books the focus.
Four Steps to Perfect Light
All mounting hardware and a step-by-step guide are included in every box. A licensed electrician is recommended for the wiring step.
Use the included template to mark the wall-box position. Confirm the centre height — typically 65–72 inches from the floor for a vanity, or 6–8 inches above the artwork for a picture light. Cut or locate the existing wall box.
Connect the ground, neutral, and live wires to the junction box. For dimmable operation, ensure the circuit is wired through a TRIAC-compatible dimmer (Lutron Skylark or equivalent). Electrician's work — do not skip.
Feed the wires through the backplate opening and fasten the mounting bracket to the wall box using the included screws. Press the backplate flush and secure with the decorative bolts. Check level with a spirit level before fully tightening.
Clip or screw the light bar onto the backplate. For pivoting models, rotate the arm to your desired angle — typically 30–45° down for picture lighting, or parallel to the wall for ambient/vanity. Insert your preferred E26 LED bulb and restore power.
Before You Buy
Can I mount the sconce vertically as well as horizontally?
Is an electrician required for installation?
Are these fixtures compatible with dimmer switches?
How do I clean and maintain the brass finish?
What is the shipping and return policy?
High quality and much better price than other designer labels elsewhere. Very happy with it!
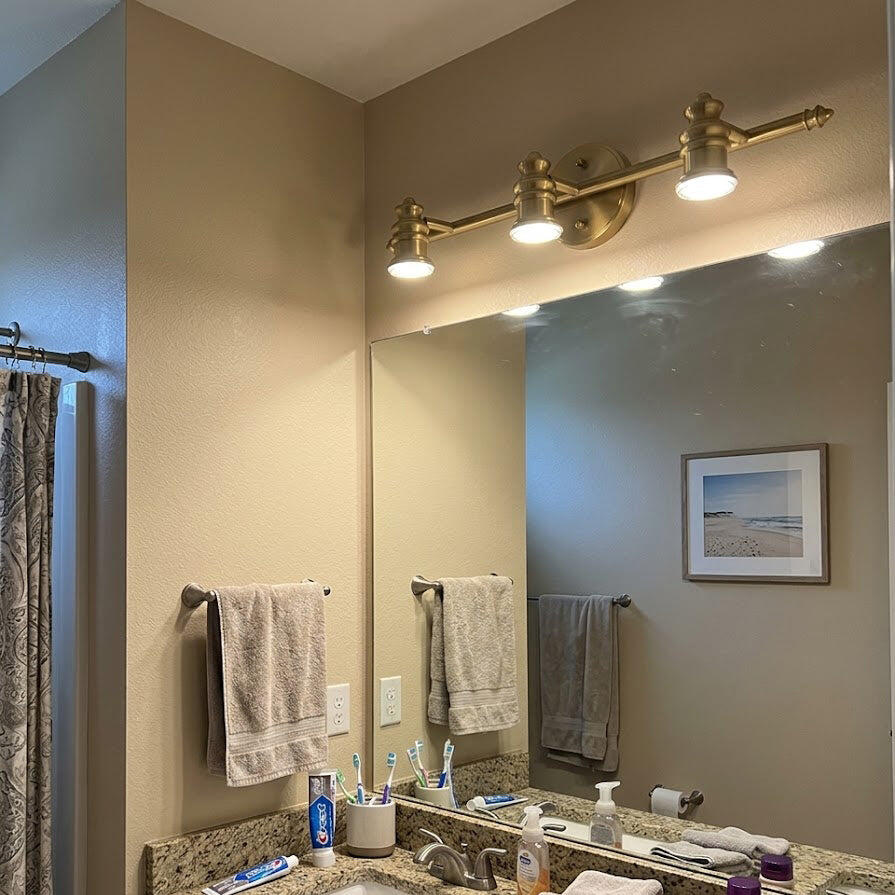
The way the light reflects off the brushed brass surface creates a very warm and welcoming glow.
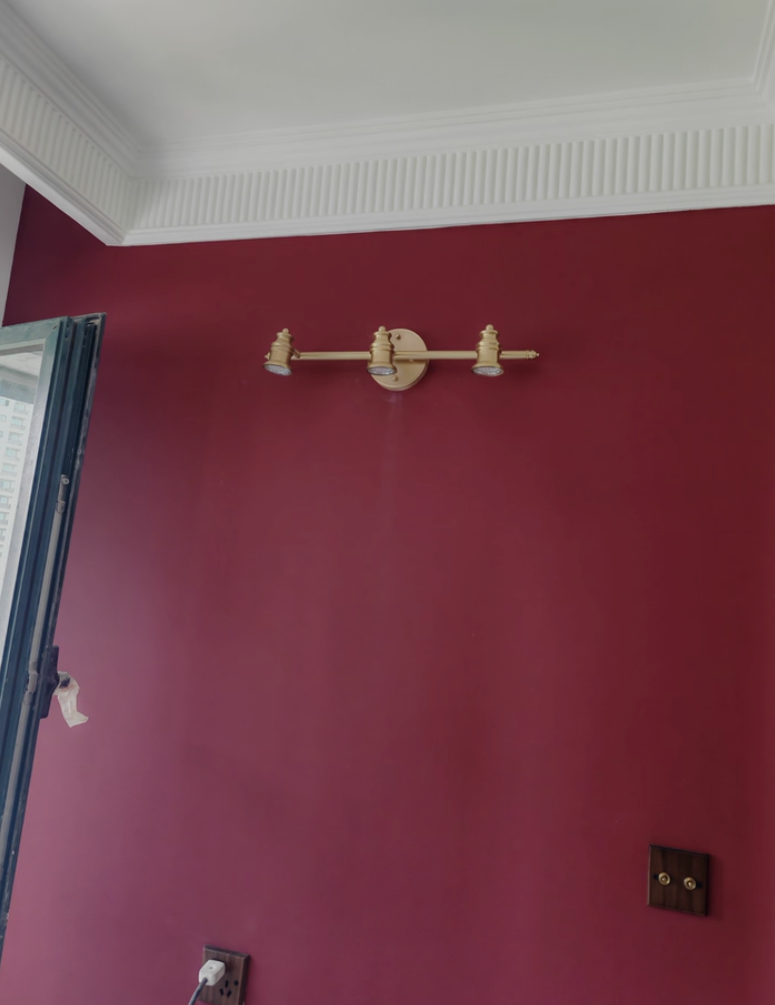
Love these sconces!! They are a great size with the lever that can adjust the angle very easily.
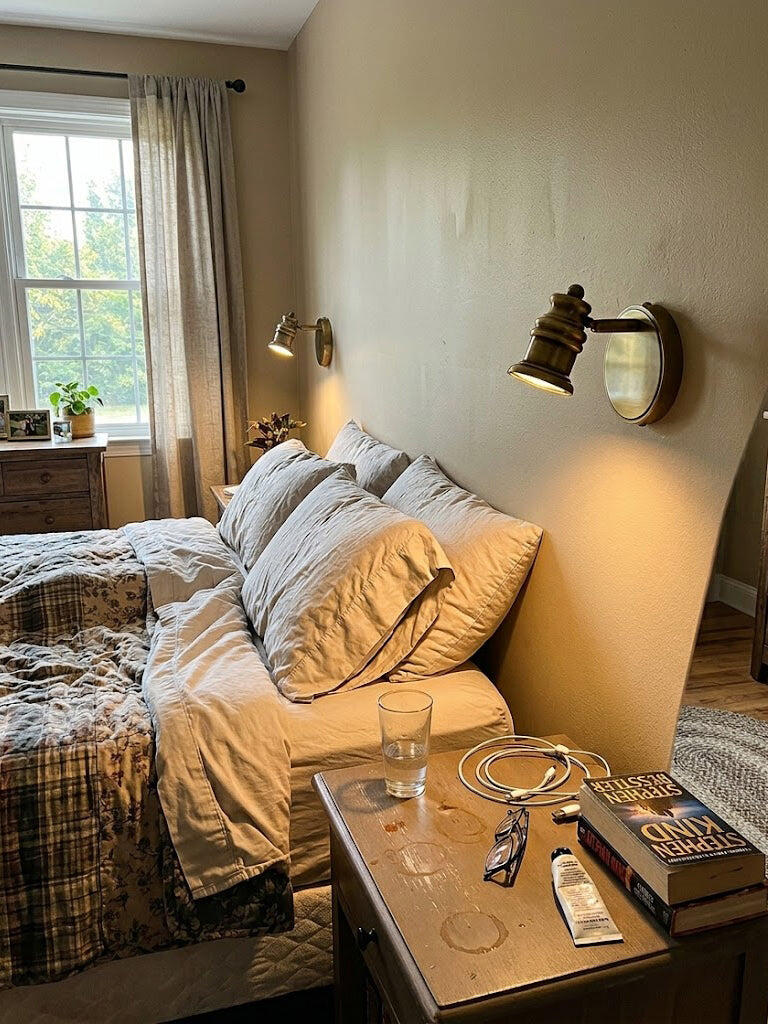
Perfect for over the kitchen sink area. Would be great in a hallway or bedside.
Beautiful fixtures! Exactly what I was looking for. They bring a soft touch to my coffe bar area.
Pleasantly surprised with the quality and finish of the sconces. Great price for the size and quality.
Real metal, versatile sizing, and beautiful finish. If you want a brass light that feels real, this is it.
Love this sconce! Quality is excellent and it is perfect for our accent wall!
The 4 heads model provides excellent coverage for my 48-inch vanity. There are no dark spots on the counter.
The backplate is thick and sits flush against the wall with no gaps. Very precise engineering.
The light fixture is the perfect middle ground for a standard bathroom. The light is even and clear.
Exactly what I have been searching for. I needed a gap to allow for my window trim. These did just that!
No visible welds or messy seams. The connection points between the arms and the backplate are seamless.
These are larger than I realized but I am quite happy with them. I think they look lovely - sturdy and high quality.
The brass color is a soft, muted gold. Its not a loud or gaudy yellow, which I really appreciate.
Gorgeous! I ordered these for my kitchen remodel to put above my window above the sink. I get so many compliments on them.
Matches the longer arm pendents in my kitchen, bought these for the hallways going up the stairs to carry the look throughout.
Perfect for a home renovation project. Adding these brass fixtures instantly upgraded the look of our guest bath.
Im obsessed with this brass series! Ive ended up replacing all my bathroom lights with different versions of this.
The package arrived very securely. All the brass components were wrapped to prevent any scratching during transit.
I purchased these lights for above kitchen window and theyre perfect. Matches my champagne gold fixtures perfectly.
The spacing between the lights is perfect. It looks balanced and not crowded at all.
No tarnish or oxidation out of the box. The protective clear coat on the brass is flawlessly applied.
Love these new sconces in our kitchen! They were absolutely what I was looking for!
Put two of the 2 lights sconces on either side of the fireplace. They look symmetrical and very high-end.
Installed by myself. The mounting bracket is heavy-duty and handles the weight with ease.
Every arm is perfectly aligned. You can tell the manufacturing tolerances are very tight on this brass body.
The single sconce is perfect for our hallway. Its compact but the brass really pops against the dark walls.
I bought the 5-light version for our master vanity. It spans the long mirror perfectly and provides incredible light.
Is this available in 12 V?
We apologize, but we are unable to provide low-voltage 12V.
Are the lights fixed or movable, to adjust where the spotlight goes?
The light fixture is fixed and cannot be adjusted.
Is this dimmable?
This fixture utilizes a standard MR16 LED socket.
Regarding your inquiry concerning dimming capabilities: since the lamp head itself serves as a standard interface, whether or not the fixture supports dimming depends entirely on the specific light bulb you purchase. Provided that you purchase and install a dimmable MR16 LED bulb—and pair it with a compatible dimmer switch—you will be able to adjust the brightness of the lighting.
hard wire only? or plug in - don't think so but always like to ask as my client will ask - smiles, AC
This light is a hardwired version.
You will need to wire the light fixture to your home's electrical wiring and control it using a standard wall switch.
If you require a plug-in version, please contact us at support@radilum.com
